Why Get Into 3D Printing?
There’s something special about getting a hold of a custom-built game component – something one-of-a-kind. For some people, they like bringing something unique to the game table that will impress and turn heads. I like the thrill of creating something. One of the best ways to bring your ideas to life for tabletop and board games is 3D printing. The possibilities seem endless, which is why Workhorse Game Studio is taking the plunge into the world of 3D printing – and will be documenting the journey along the way.
3D modeling and animation in Blender has been a hobby of mine for a long time and 3D printing seems to be a natural extension of that. With a skillset that has naturally developed over the years, I realized I can “scratch my own itch” as they say, and solve my own problems, and hopefully solve other’s problems as well. While developing Atomic Edge, I realized that the multiple decks of cards would get frustratingly messy throughout the game. I set out to design a card deck holder to keep multiple decks organized while also being visually appealing. 3D printing was the path to make that happen. I put more thought into the design and realized that there is a much broader variety of custom products that the tabletop and board game community would benefit from.
I want to bring exciting, unique, and custom products to board gamer’s tables around the world.
So What’s the Plan?
“How am I going to make this work?” I naturally asked myself. Like I mentioned – I plan on scratching my own itch first. I have some great ideas for what I can 3D print for Atomic Edge, so the first step is getting some prototypes printed up for my own use. From there I can gauge interest, and expand to different designs and products. Eventually, the goal is to get a resin printer and start creating high-quality miniatures as well. Like most things in life that will take time – it’s best to start small.
How Did I Choose a Printer
A printer is a big purchase. There’s no doubt about that. The first step with any purchase like that is research. It’s the 21st century, so I started at the usual place: Google. From there, I familiarized myself with brands, price points, and recommended models. After that, I binged as many YouTube reviews as I could find, which finally led me to the BambuLab P1P. It’s a bit of a higher price point than some of the “starter” models, but I liked the ease of use and reliability that comes with these models. A little more investment upfront could save me hours of setup and headaches in the future. After the first week of use, I can say I am more than pleased with the purchase.
The First Prints
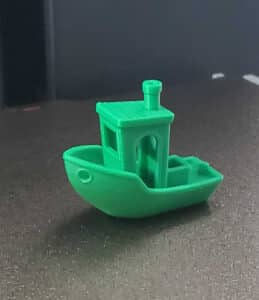
Of course, I had to start with the “benchy” as my first print. This little tugboat turned out great, even with out-of-the-box, default settings. In less than an hour I had the P1P out of the box and printing.
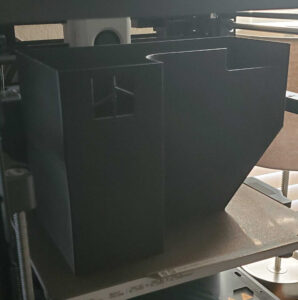
Very quickly I realized that excess filament gets dropped out of the back of the machine, so my next mission was to print a “poop chute” to catch all of the filament…. droppings.
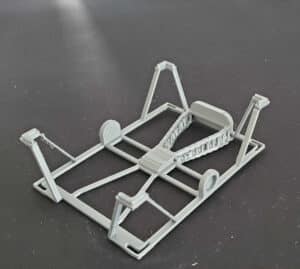
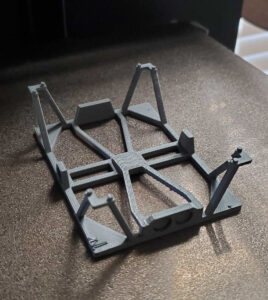
I then made a few attempts at my initial design for a cardholder. The quality of the prototypes is great, but the design still needs a little work.
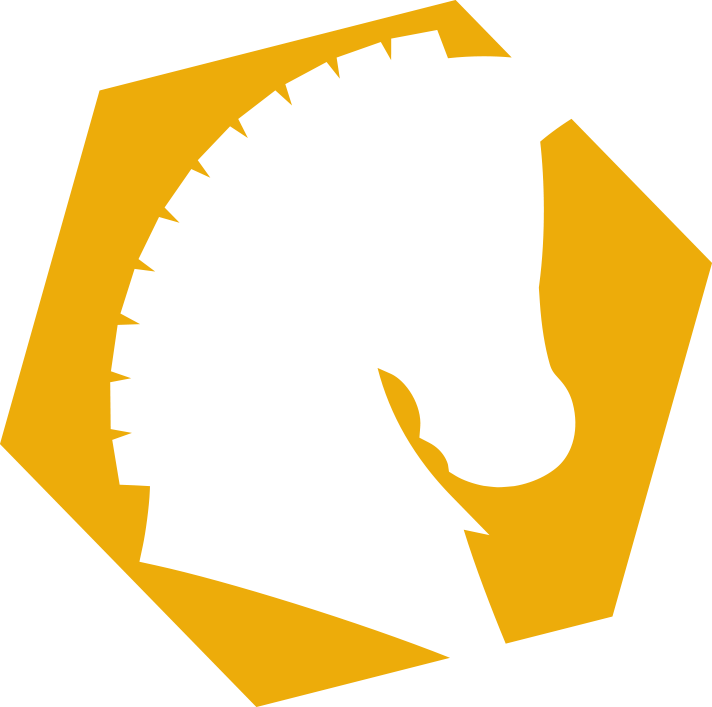
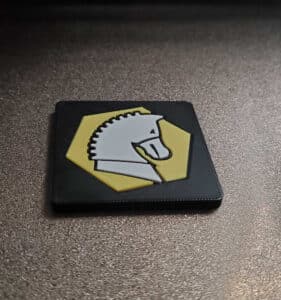
Finally, I wanted to see how I could convert an SVG file into a printable logo. I will make a tutorial about this later.
Thoughts After the First Week
Overall, I quickly fell for 3D printing. It feels like the sky is the limit with so much potential. It all started from trying to solve my own problems and quickly led to an overflow of ideas. If 3D printing is something that interests you, do some research, grab a printer, and dive in. You won’t be disappointed.

